

Gitea MCP
The AI in your editor works with Gitea directly — multiple repositories · PRs · reviews · files · releases · wiki · search. It connects through a public address, so you can use it anywhere without a VPN.
A person does three things — install the extension, get a config issued, and put it in the editor.
It is not needed to build and launch a new app — that is done with tidoly MCP. Gitea MCP is for everyday development after that. → AI integration · Which one to use
What to prepare first
| What | Why | Where |
|---|---|---|
| Gitea installed | Gitea MCP can only be installed as an extension of an installed Gitea | Chapter 5 · Install one by one |
| Gitea repository permissions | The AI handles only the repositories the person issuing the config can access | Gitea |
Installing the extension
- On the 확장 (Extensions) card in the installed Gitea's detail page, click
추가(Add). - In the connection section of the install screen, set MCP 게이트웨이 (MCP gateway) to 새로 설치 (Install new).
- Click
설치(Install) and wait until it becomes수렴됨(Converged).
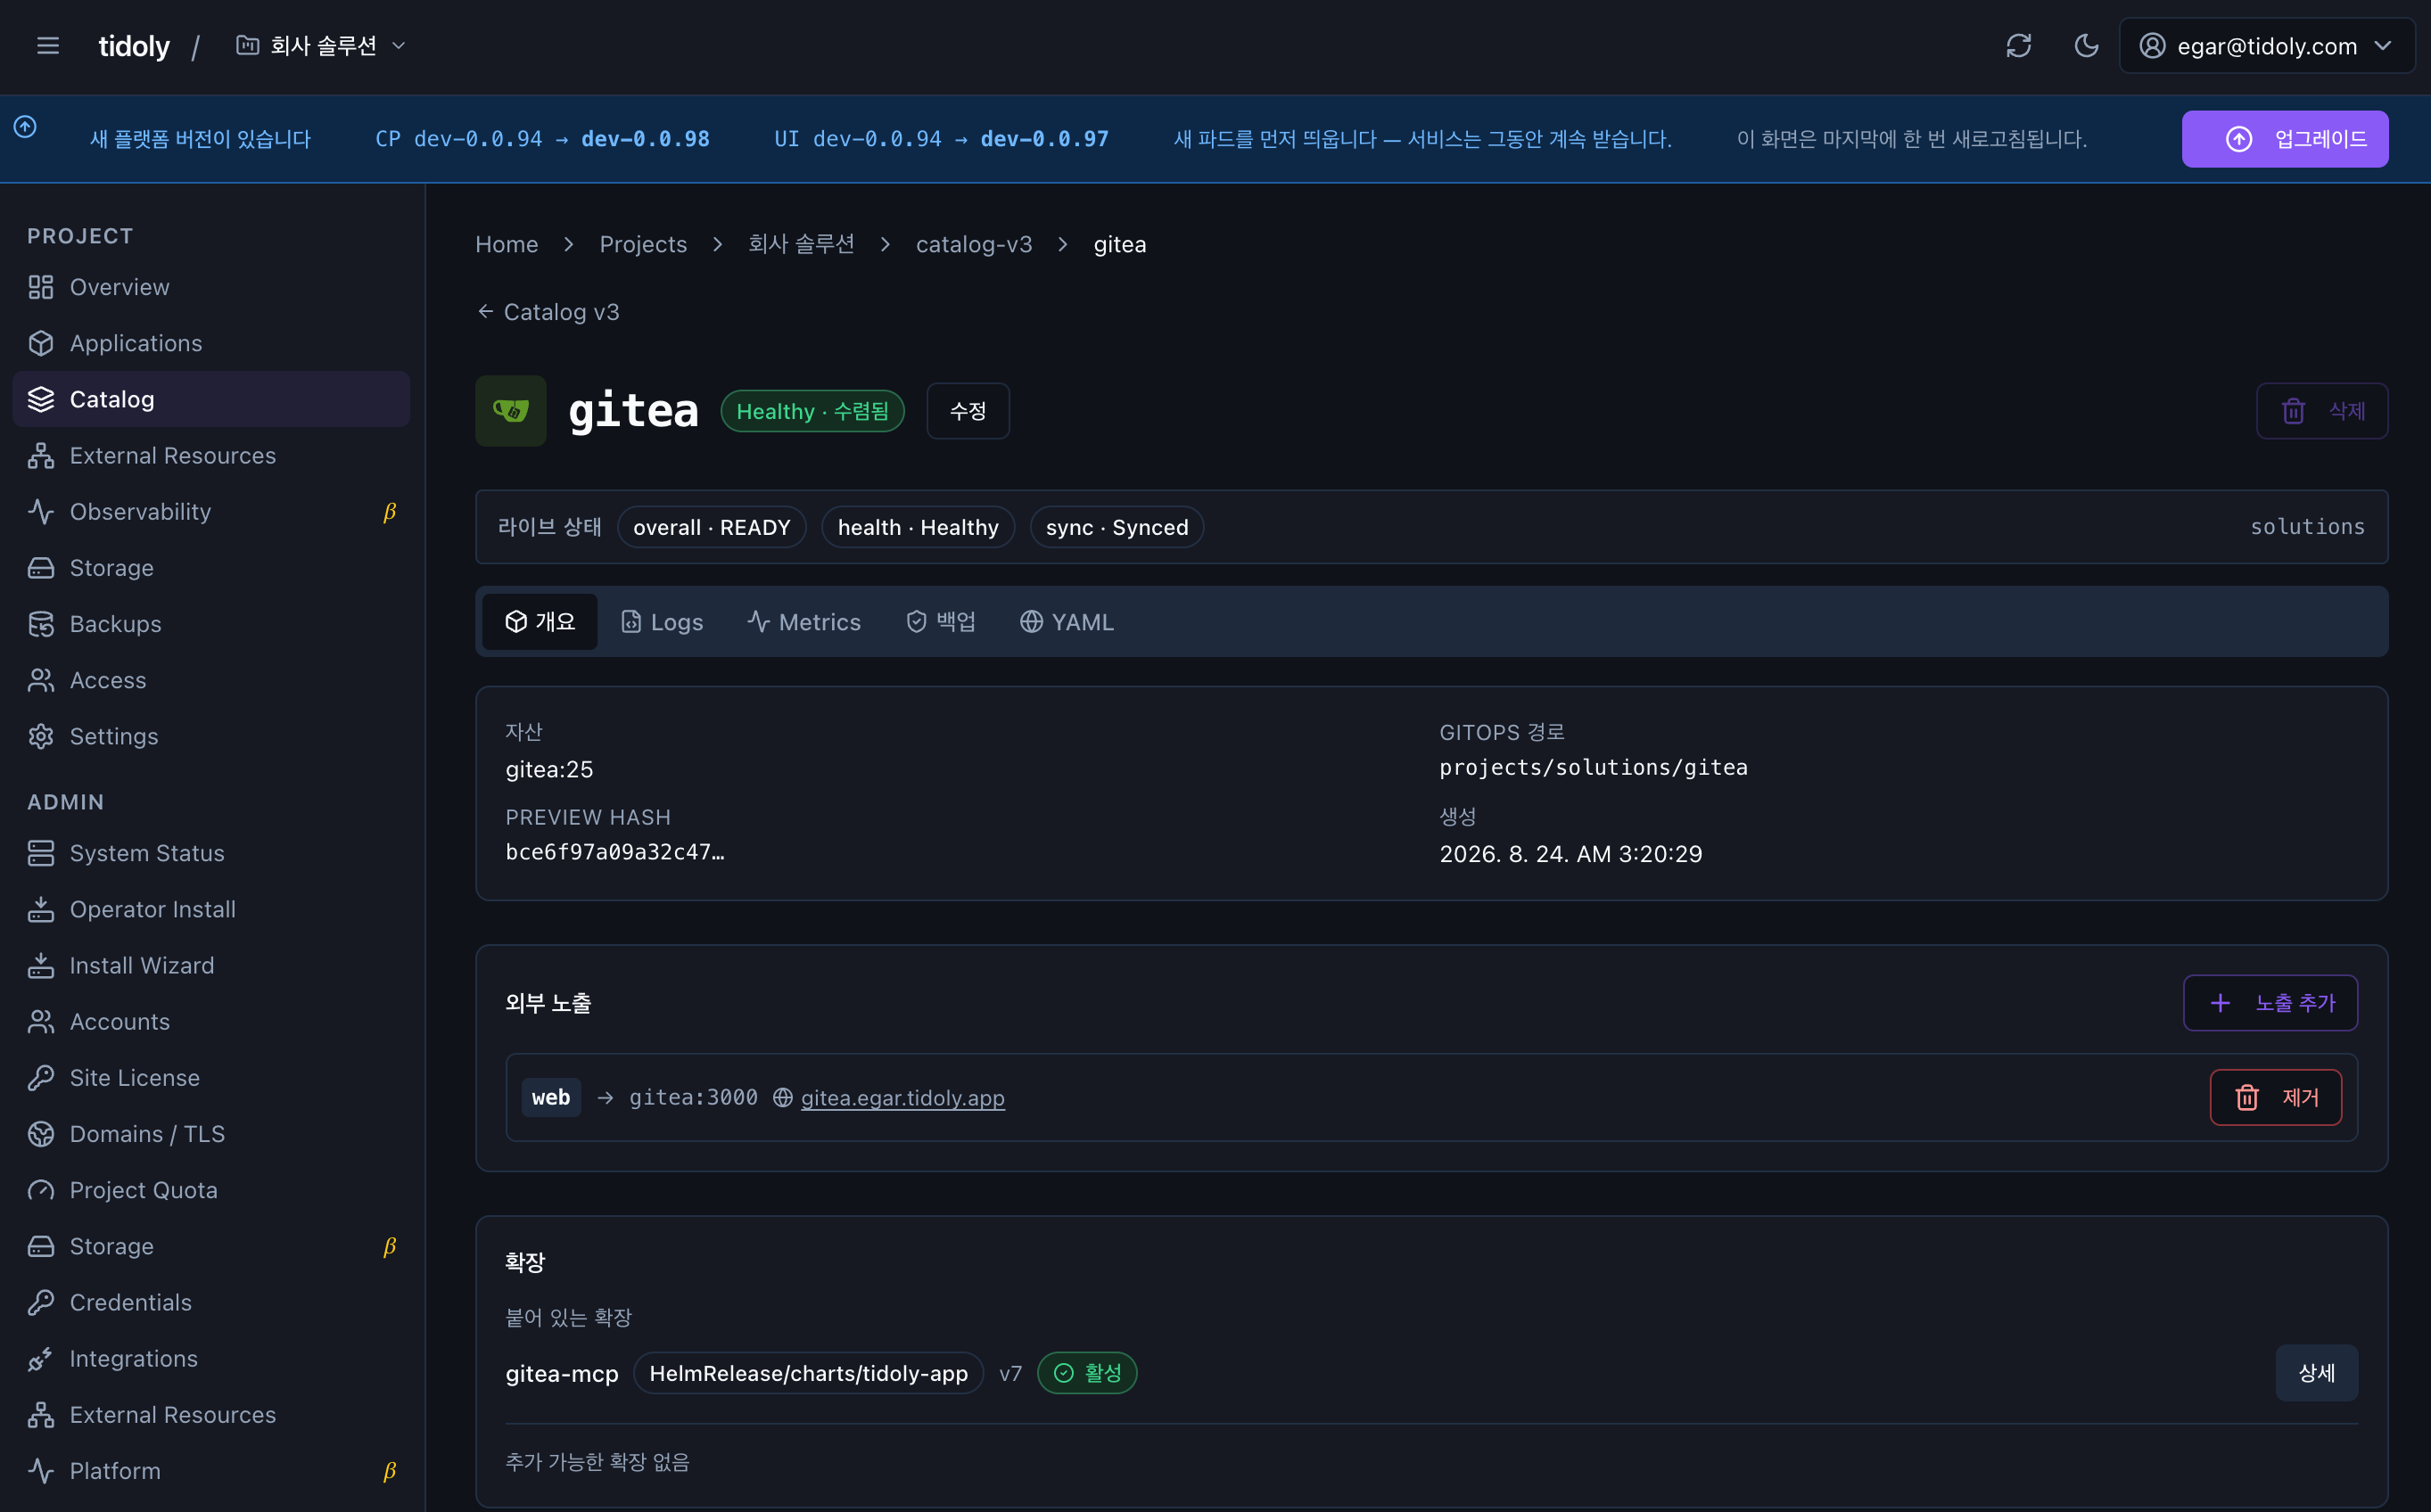
The MCP 게이트웨이 is the door the AI comes in through. If you choose 새로 설치, the gateway comes up first, then Gitea MCP is installed, and the public address is opened as well.
Issuing a config
- Go to the AI 도구 연동 (MCP) (AI tool integration (MCP)) card on the installed Gitea MCP's detail page.
- Click
설정 발급(Issue config). - In the MCP 설정 (MCP config) window, click
.mcp.json 받기(Download .mcp.json) or복사(Copy).
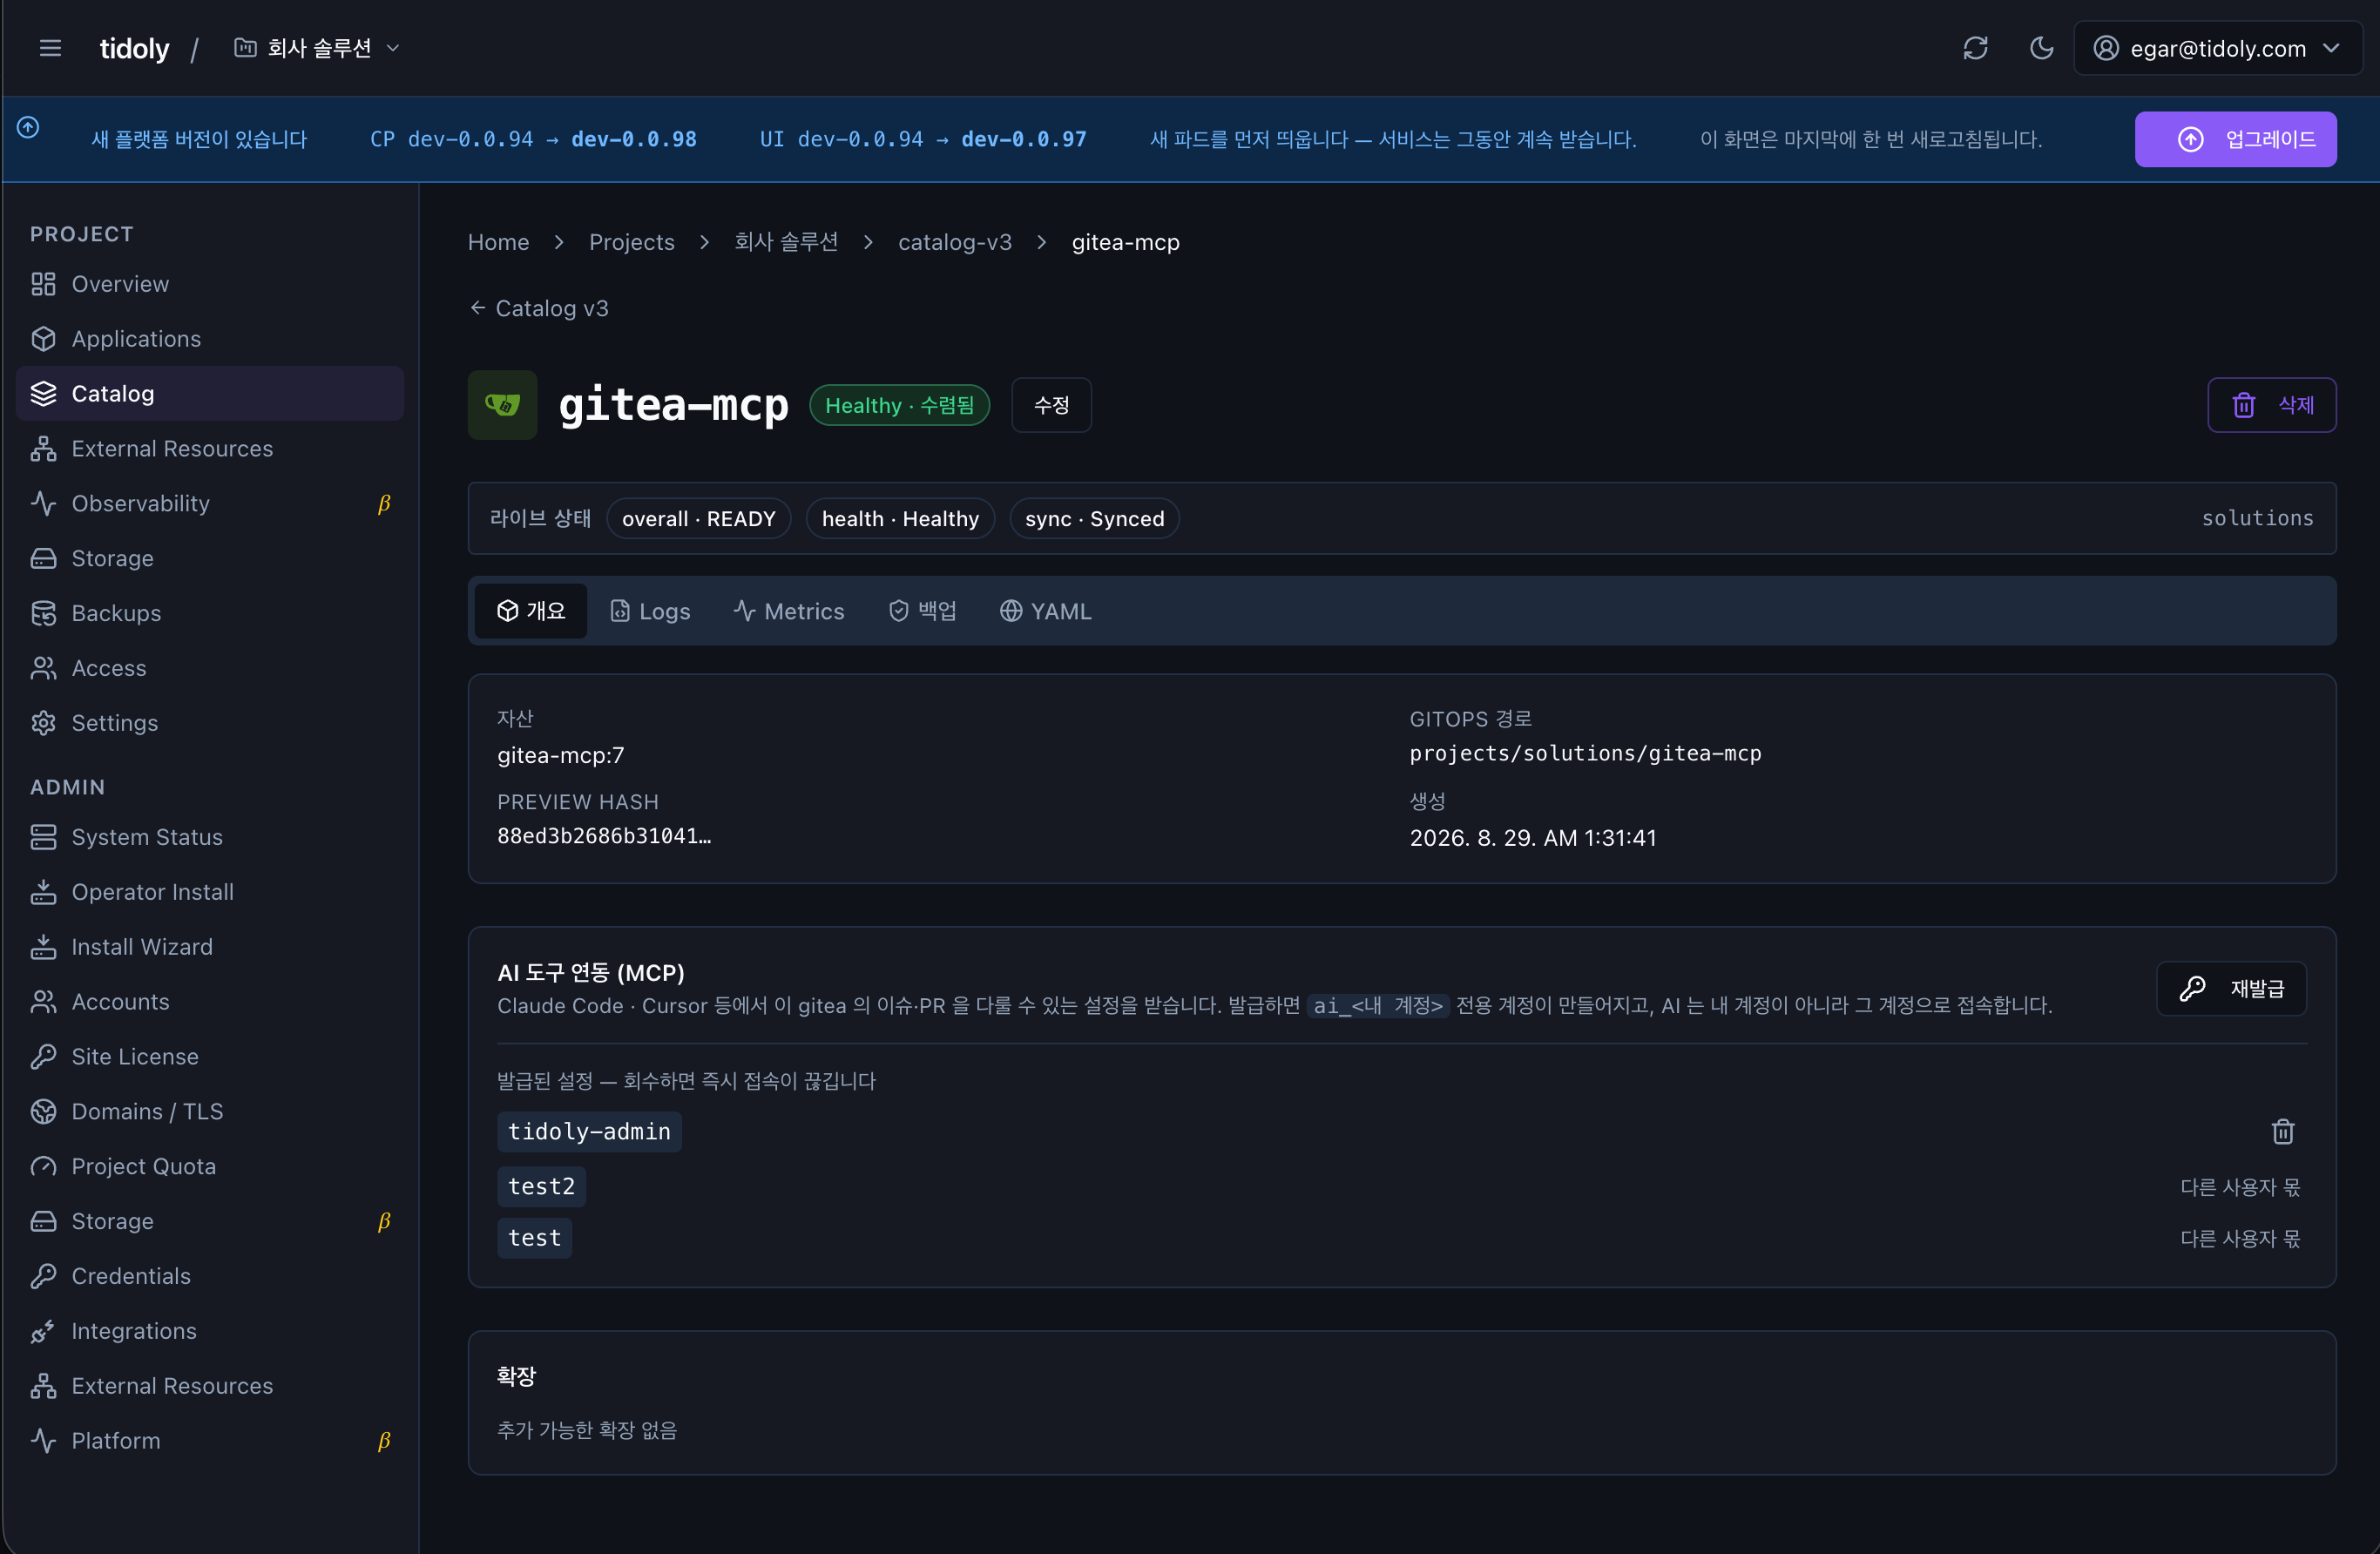
The config is shown only once, in the issuance window
Once you close the window you cannot see it again. If you lose it, click 재발급 (Reissue) — reissuing immediately invalidates the config you were using.
A newly issued config can take 1–2 minutes to take effect. If it does not connect right away, try again shortly.
Putting it in the editor
Put the content you received into .mcp.json in your project folder.
{
  "mcpServers": {
    "<Gitea MCP name>": {
      "type": "http",
      "url": "https://<address shown in the issuance window>/mcp",
      "headers": { "X-Paas-Key": "<issued key>" }
    }
  }
}
Do not commit .mcp.json to Git — it contains the key as-is.
The Gitea token is not in the file. It connects with a single key.
What the AI can do
| Scope | Details |
|---|---|
| Identity | One AI account per person in a Gitea — independent of projects, with no administrator permissions |
| Repositories | The repositories you can access at the moment of issuance |
| Permissions | Up to write on issues · repositories — it cannot delete repositories |
Permissions are fixed at the moment of issuance. If you are invited to a new repository afterwards, you must click 재발급 for the AI to see that repository too.
Use tidoly MCP to push code. Gitea MCP writes one commit per file, so the history gets scattered.
The list of functions the AI can call (54) is in the official repository → gitea.com/gitea/gitea-mcp
Revoking
- On the AI 도구 연동 (MCP) card of the Gitea MCP detail page, look at the 발급된 설정 (Issued configs) list.
- Click the trash icon on your config — the connection is cut immediately.
You can revoke only configs you issued. Other people's configs appear in the list as 다른 사용자 몫 (Another user's) and have no icon.