

2. Install the system
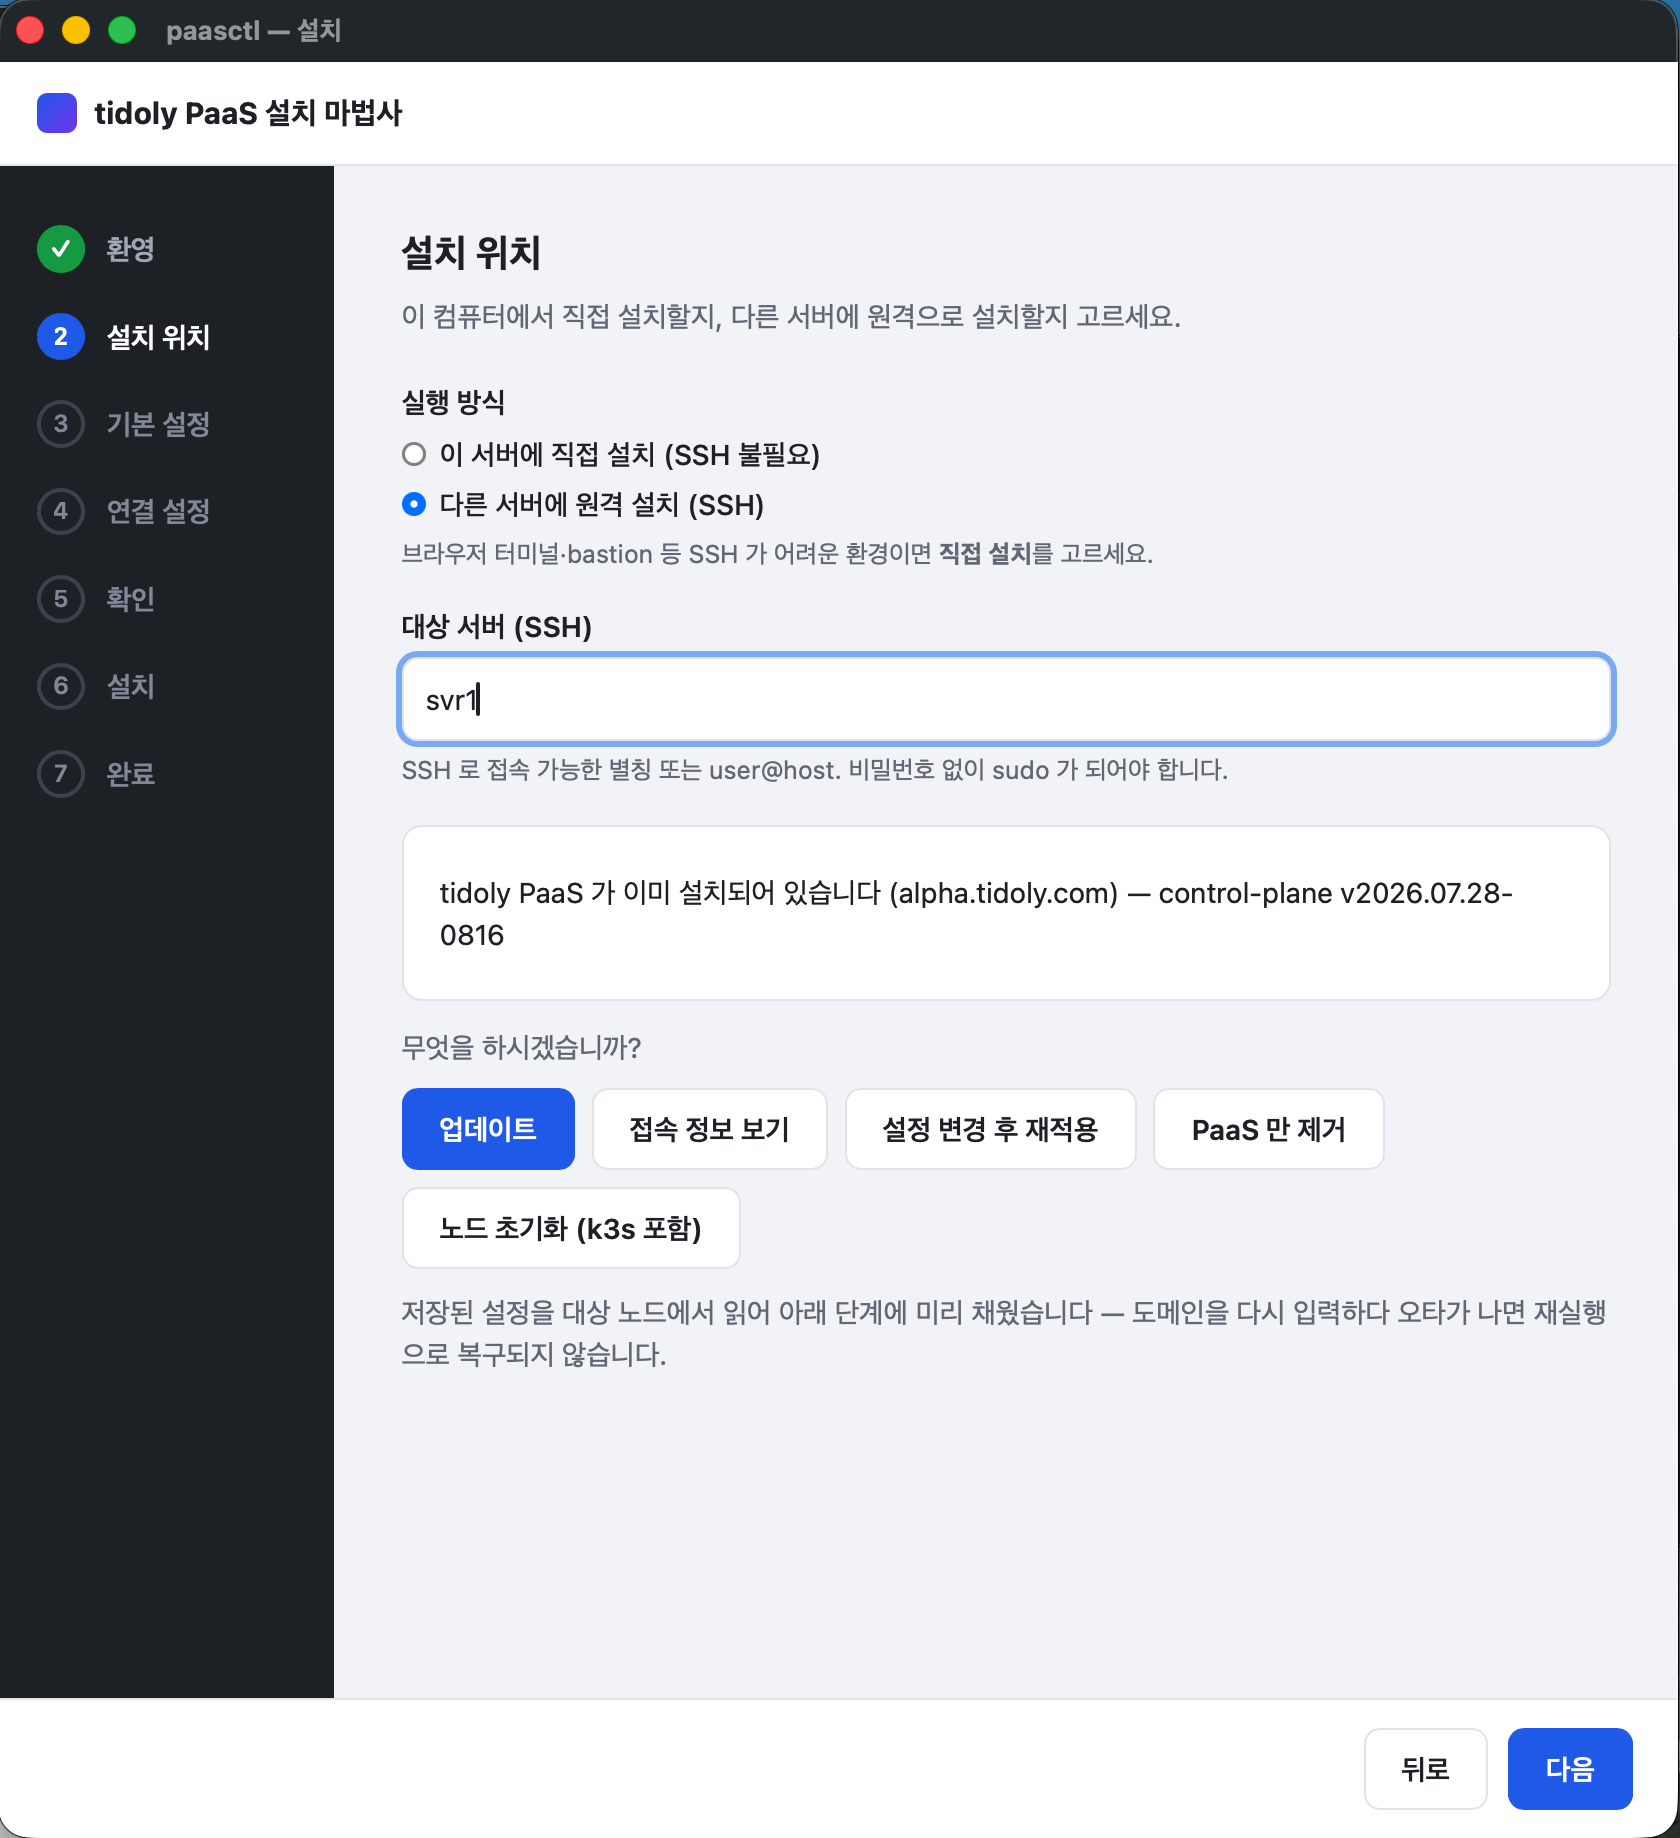
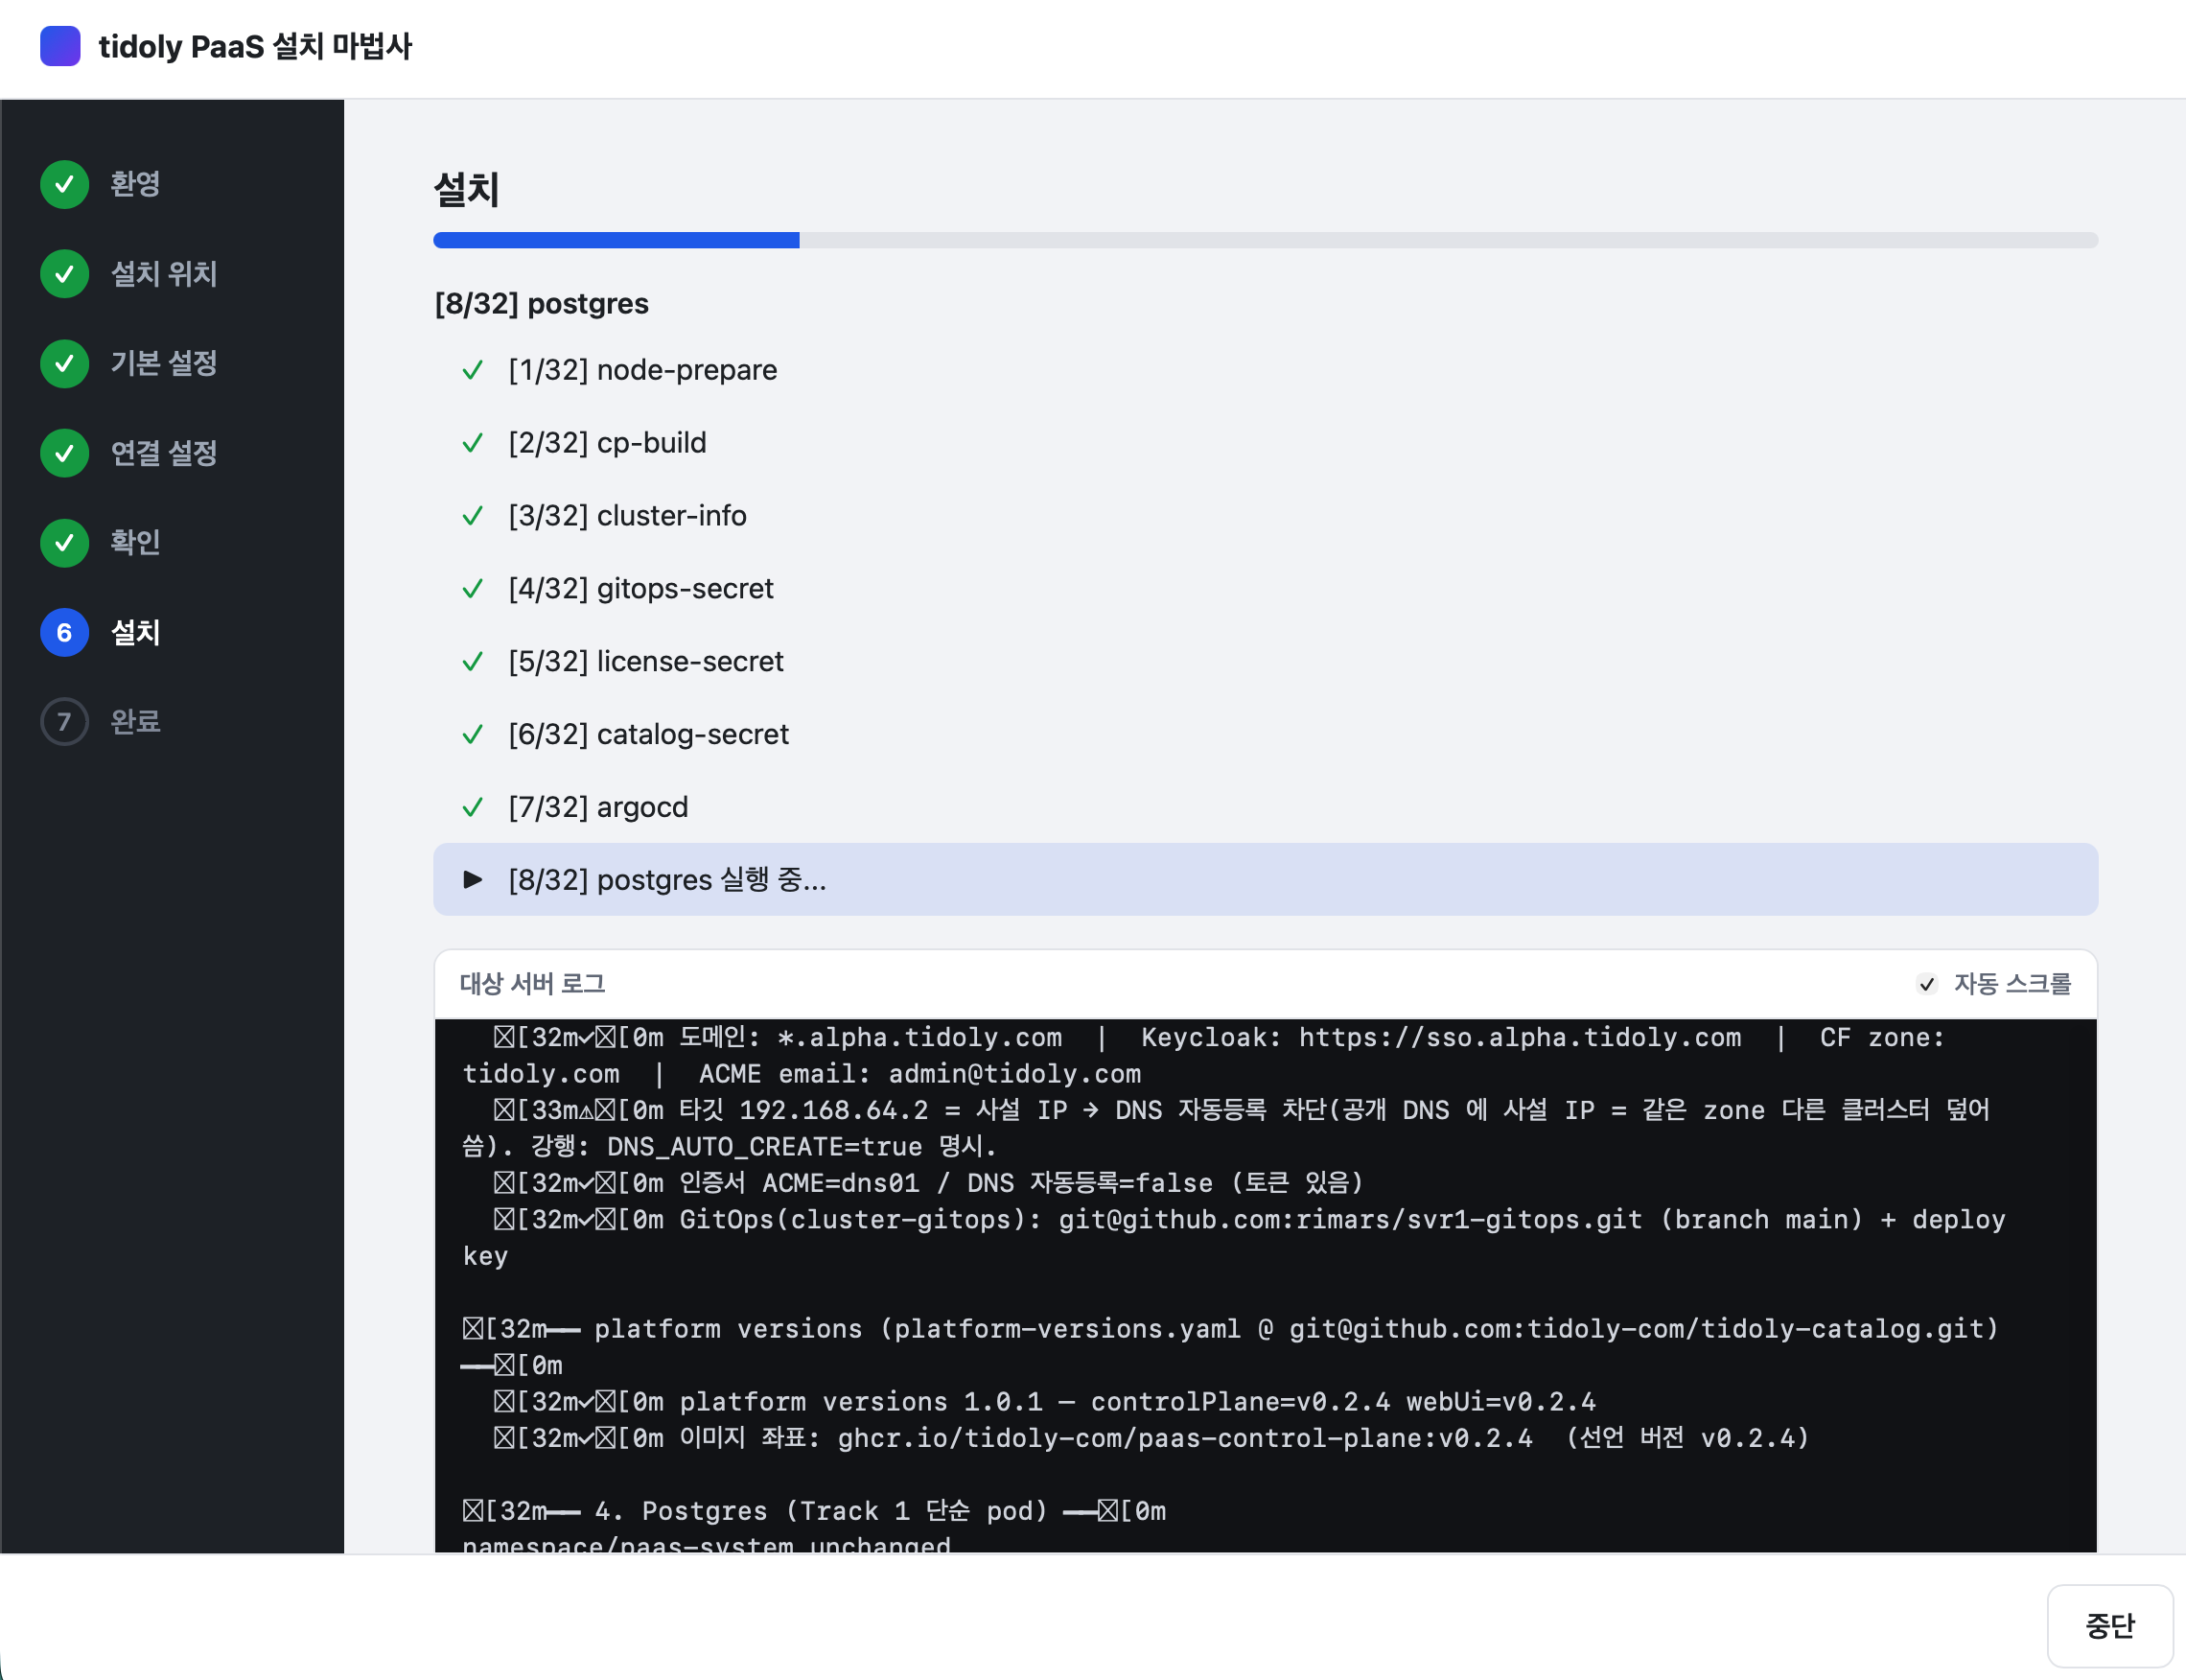
Installation is done entirely with one tool: the paasctl installation wizard (GUI). Launch the wizard on your computer and specify the target server; the wizard connects to the server and does the rest.
Before you start — License key
You enter the license key on the first installation screen. The address comes with that key — if you haven't obtained one yet, see Chapter 1 first.
Server specs
| Minimum | Notes | |
|---|---|---|
| CPU | 8 cores | Based on running assets from the Catalog and apps you build together. |
| Memory | 8GB | Build and deploy automation needs 2GB or more on top (10GB or more in total). |
| Disk | 100GB | |
| OS | Ubuntu 24.04 LTS | If you don't have a server yet → 0. Prepare a server |
If specs fall short
The installer doesn't measure specs; it just starts. If you start with insufficient specs, some assets or apps may stop running due to lack of memory, or you may not be able to install as many as you want.
If CPU is short, things still run, just slowly; if memory is short, they don't come up at all. If it's a virtual machine and you can choose specs, prioritize memory. If the hardware is already fixed, don't deploy everything at once — install what you need first and watch the headroom.
Access — SSH key
The installer connects with a key. Run the three lines below on your computer.
ssh-keygen -t ed25519               # if you don't have a key (skip if you do)
ssh-copy-id user@server-address             # register the public key on the server - linux

cat ~/.ssh/id_ed25519.pub | ssh root@server-address \
    'mkdir -p ~/.ssh && cat >> ~/.ssh/authorized_keys' # register the public key on the server - when ssh-copy-id is unavailable, e.g. mac

ssh user@server-address 'sudo -n true'      # ← if it asks nothing, you're ready
The last line checks key-based access and passwordless sudo at once — the installer checks these two before starting, too.
If it's refused, add one line on the server with sudo visudo — username ALL=(ALL) NOPASSWD:ALL
If you can't use a key, use the installer's "이 서버에 직접 설치 (SSH 불필요)" (Install directly on this server (no SSH needed)) mode.
Addresses and certificates
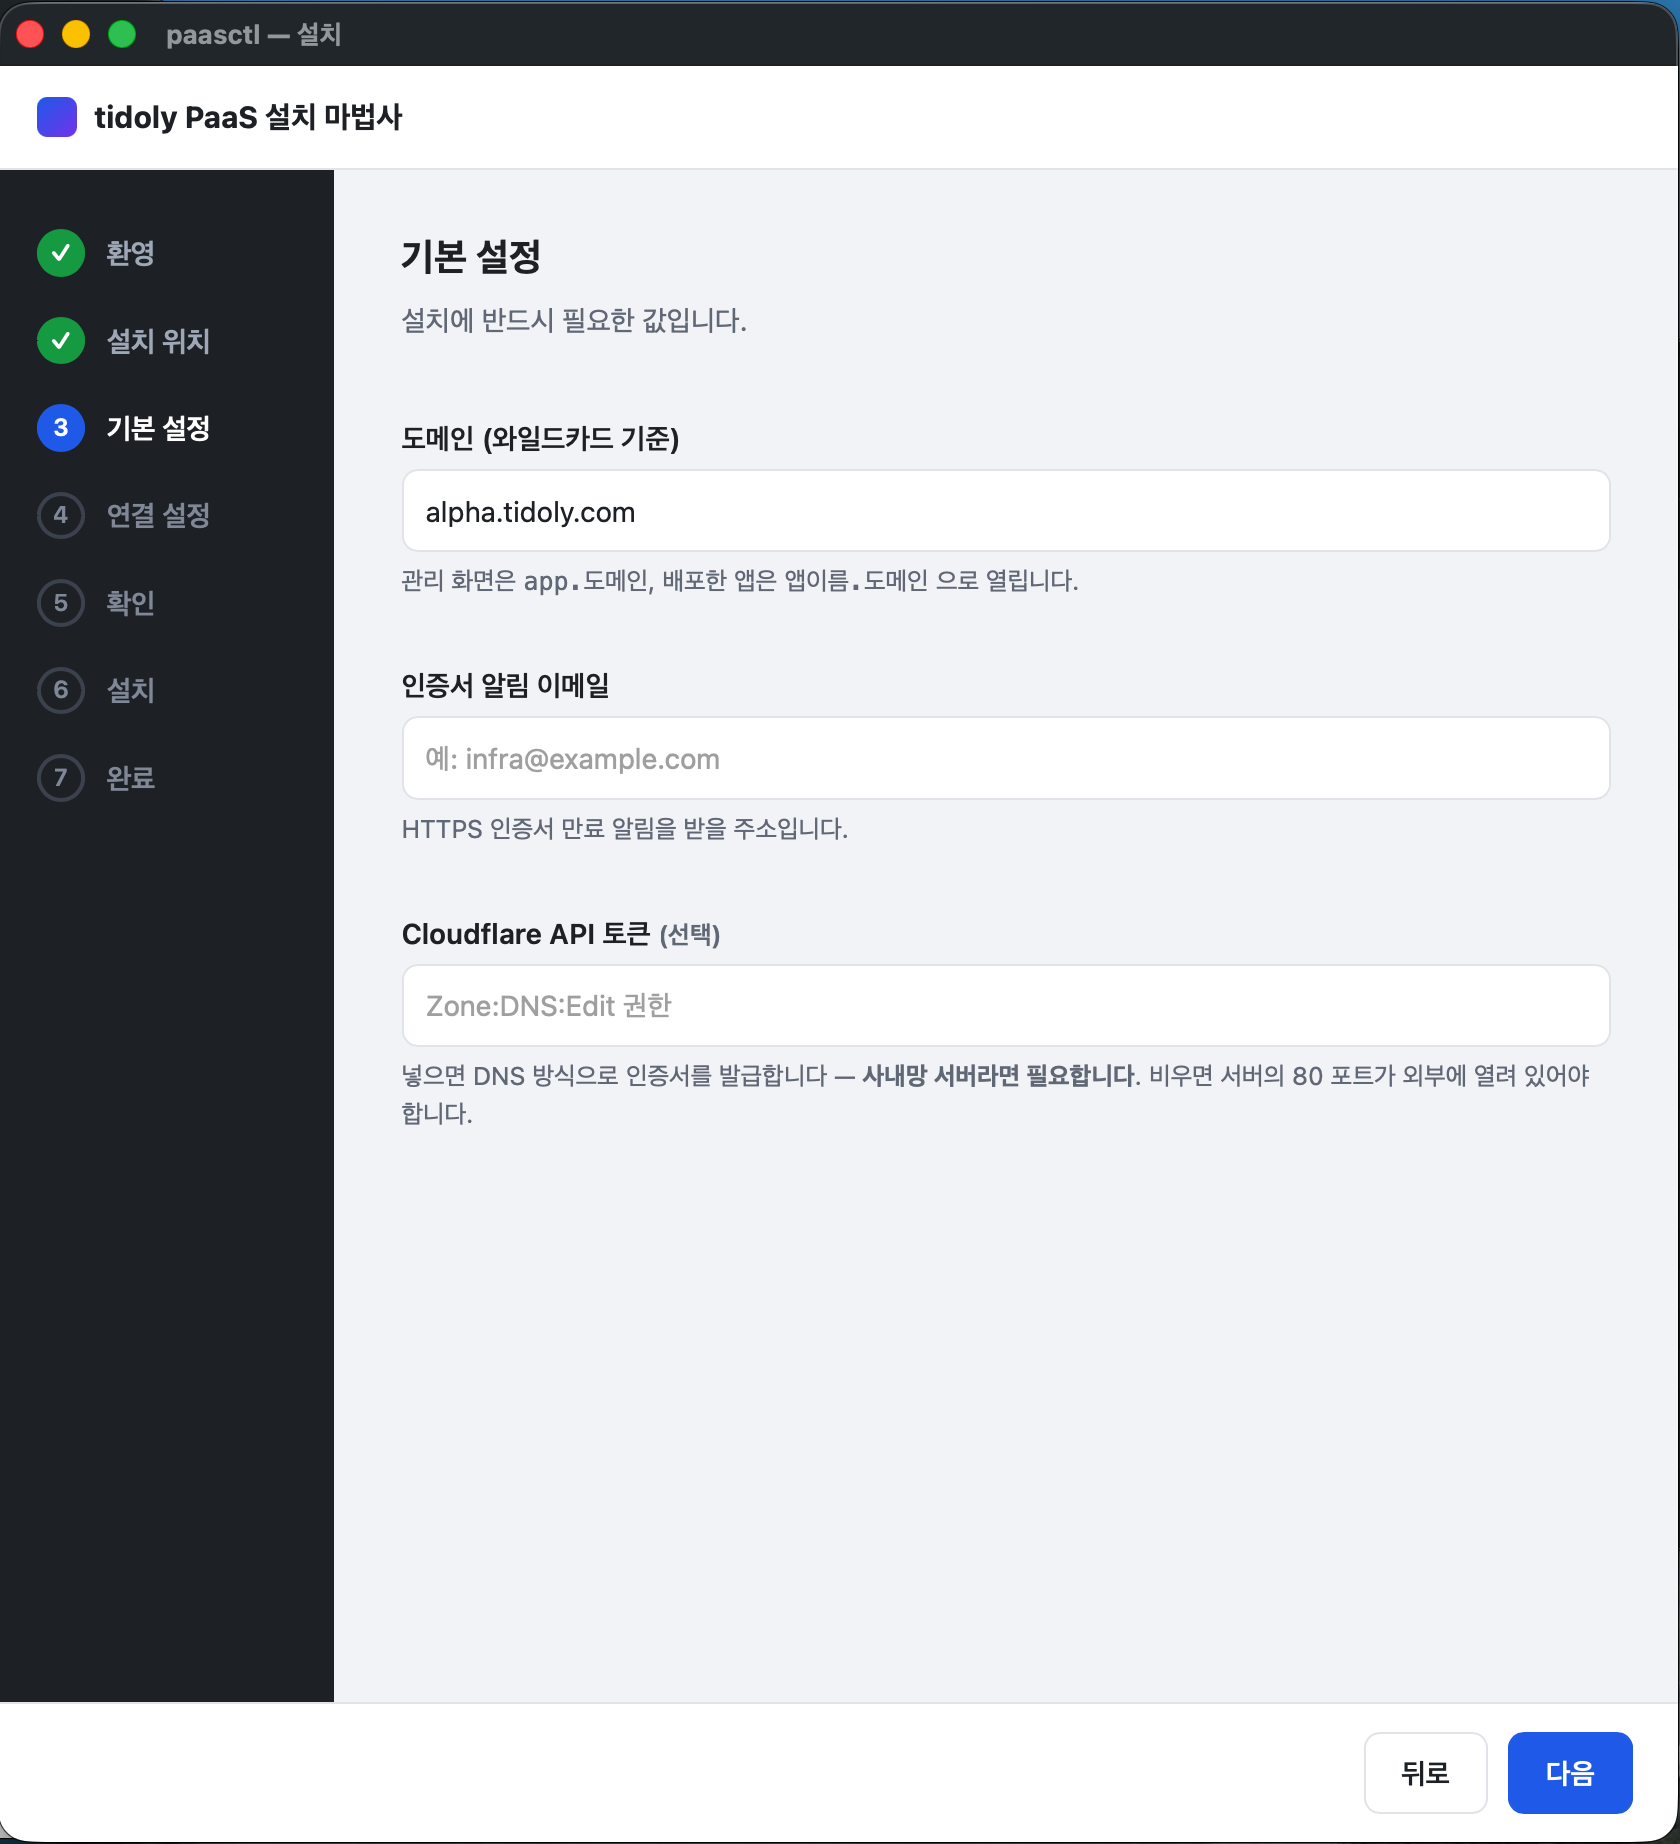
The values you set in Chapter 1 are already filled in. Just leave them as they are.
The Cloudflare API token field appears only if you chose direct serving. If you enter it, DNS records and wildcard certificates are created and renewed automatically. If you don't, certificates are issued per address, you have to add DNS records yourself, and port 80 must be open.
The token needs both Zone:Read and Zone:DNS:Edit permissions. The only provider with automatic DNS is currently Cloudflare. → Chapter 9
Installation screens
After installation
| What | Address | When to open it |
|---|---|---|
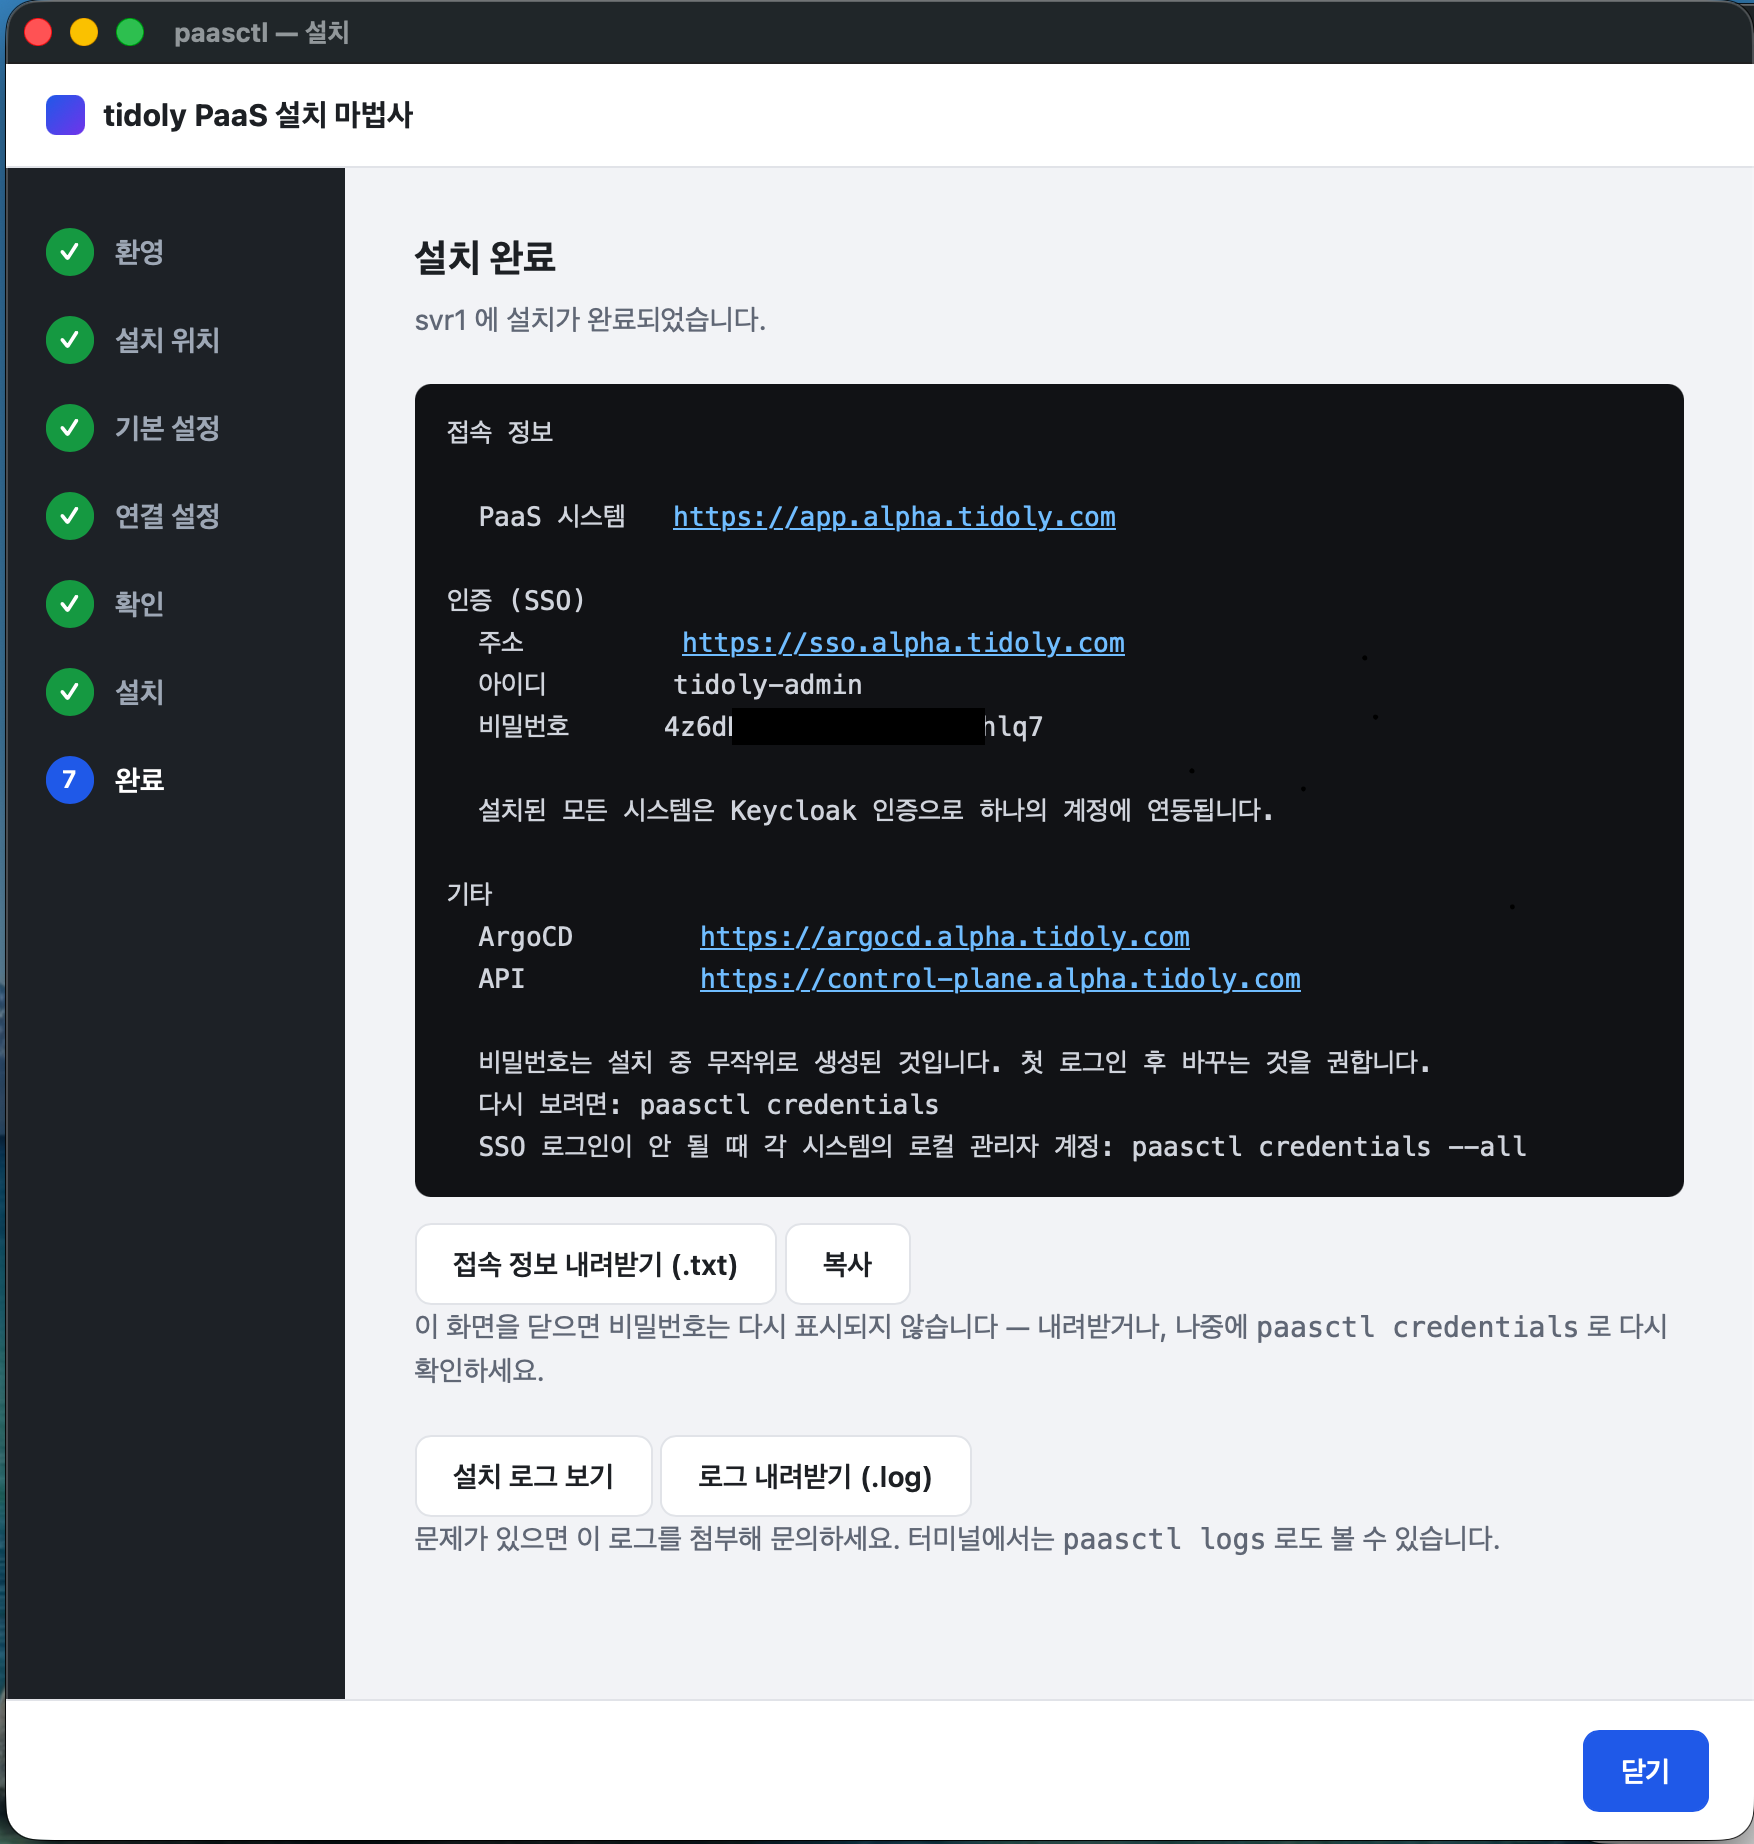
| PaaS admin console | https://app.domain | Day to day. Create projects and install and connect assets. |
| Authentication (SSO) | https://sso.domain | Keycloak. When adjusting users and groups. All installed assets are integrated with this single account. |
| ArgoCD | https://argocd.domain | When checking why a deployment isn't attaching. Check release status and run manual sync directly here. |
| API | https://control-plane.domain | When used from automation or scripts. |
Assets installed afterward (monitoring, chat, and so on) each get their own address — it's decided when you install them from the Catalog, and you sign in to all of them with the SSO account above.
When you can't sign in with SSO
Check each asset's local admin account with paasctl credentials --all.
If installation fails partway
Attach the 설치 로그 내려받기(.log) (Download install log (.log)) file from the completion screen and contact us. You can also view it in the terminal with paasctl logs.
Next → 3. Projects and status